Tuesday, October 9, 2012

Mug Brownie for One


How to make a Microwaveable Single Serving Mug Brownie

Ingredients
2 tbs vegetable oil
2 tbs water
3 tbs sugar
3 tbs flour
3 tbs cocoa powder
1 dash of salt
1 drop of vanilla extract


Mix all dry ingredients together in a mug


Add water, vegetable oil, and vanilla


Mix well together


Microwave for 1 minute

The mug on the right has a little less cocoa and is more mushy. 


Enjoy!! :) 

Wednesday, October 3, 2012

15 Layer Chocolate Cake

Ingredients: 
Cake
1 1 /2 box Duncan Hines Classic Yellow cake mix
2 cups water
5 large eggs (room temperature)
1/3 cup Oil plus 3 tbsp. 
Pam cooking spray
Chocolate Icing
1 stick margarine
1 can evaporated milk
1 tbsp vanilla extract
1/2 cup cocoa
3 cups sugar
1 tbsp Karo Syrup

Preheat oven to 385. Mix cake ingredients on medium speed for 3 minutes. If the mix is not thin enough, add a little more water. SPRAY nonstick pans (however many will fit in the over and bake evenly, 2-4). Pour 1/2 cup of batter into each pan. It should be tin enough to spread across pan when shaken. Set timer for 6 minutes, check at 5, remove if cake is separating from edge of pan. 

I added food coloring to mine to mix it up a little

3 pans can fit in my oven


Have a large towel or paper towels ready to spread the layers onto after removed from oven. Wipe the pan out quickly (while warm still) with a paper towel. Continue with all layers. Spray each pan before pouring more batter in. Continue with this process until 15 layers are baked. 


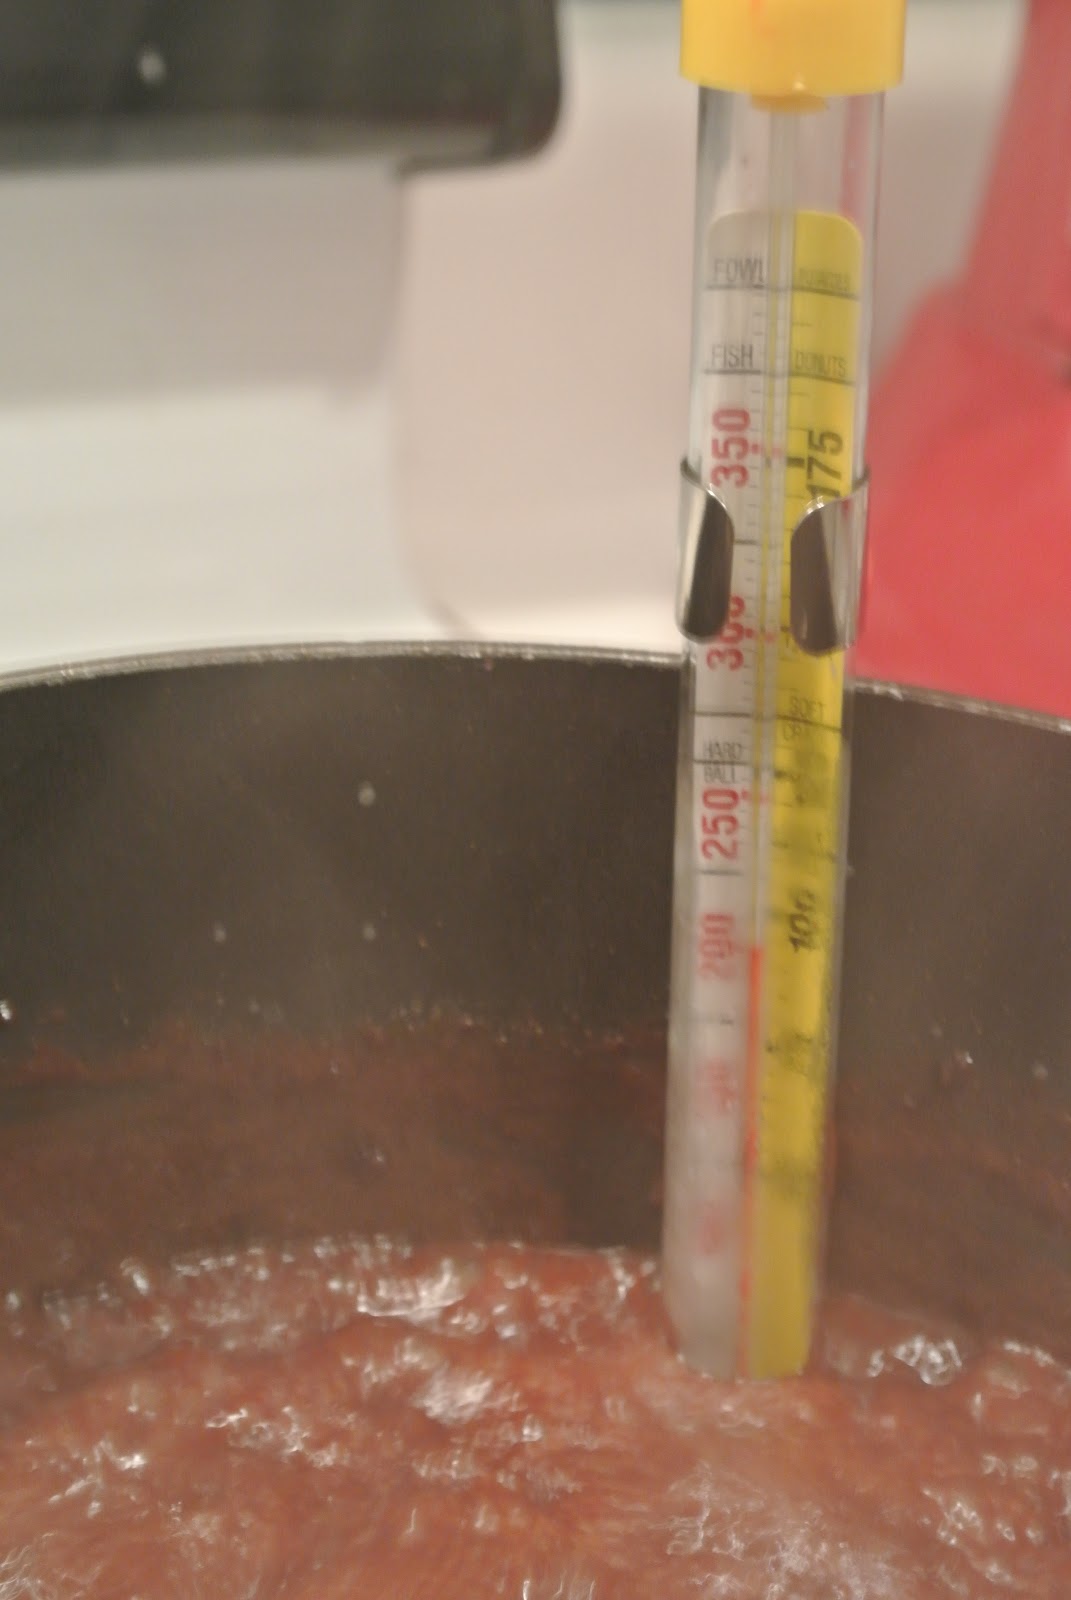
For the icing, mix sugar and cocoa, be sure to get out the lumps. In a heavy pot, combine milk and margarine, add cocoa and sugar, the Karo syrup. Mix. Stir mixture until it starts to boil, then stop stirring. Place a candy thermometer in the mix, when thermometer reaches soft ball stage, remove from heat. Let it cool for a few moments, then gently stir in 1 tbsp of vanilla extract.


Place wax paper around the edge of the plate you are using (so it will be cleaned when removed) and place the first layer on plate. Pour a large kitchen spoonful of filling on each later and spread with a spatula (you may need to add a little more). Continue this with all layers, being sure that the layers are stacked evenly on top of each other and do not slide. Once at the top layer, add several spoonfuls and let it run down the edges of the cake, guiding it so all the cake is covered.

I did not have wax paper so I used tin foil
Once the cake is cool, remove the wax paper (tin foil). 

I did not get a final picture of mine. Thanks http://cravingcakes.weebly.com
 for this picture.


My cake with green layers mixed in. 

Saturday, September 22, 2012

Fall Must Haves

Today is the first day of Fall, so it is only appropriate to compile a list of must haves for this amazing season!


First on the list is scarves. You can never go wrong with a beautiful scarf. You can wear it to dress up a plain white tee or button up and use it as an accessory if its not the right weather to use it as its main purpose of keeping you warm.
These can both be found at JCrew online or in stores


Next  is cardigans. These adorable items are perfect for fall because they are perfect for keeping you warm by the campfire but thin enough so you don't get hot during the day. 


Every girl knows that the right pair of jeans is a staple to the perfect outfit. I have chosen to show boot cut jeans and skinny jeans. Spending more money than you normally would on a great pair of jeans is expected because they will last and you will enjoy them and be more comfortable and self confident!
Shown here are both Miss Me jeans (my favorite) in bootcut and skinny


Boots are a MUST for the fall! They're cute, stylish, comfortable, and warm! Boots can be worn with jeans, skirts, dresses and more! Finding the perfect boot for the fall is very important because it can be warn everyday, dressed up or casual!
Steve Madden boots

One of my most favorite things about Fall is long sleeve tshirts! They are so comfortable and perfect for the season because even if it isn't quite cool enough yet, you can still wear a long sleeve tee with shorts and pull it off!
Popular this year are Frat Collection pocket tshirts

Finally, the bag that is a must have for Fall is a crossbody bag. It is one of the most convent bags ever made because you don't have to "keep up with it". Just throw it on and leave it there without worrying about having to sit it down somewhere and get it dirty or lose it. It is very convenient for going out, tailgating on game days, walking to class, and shopping!

My favorite is my Louis Vuitton because it is large enough for a full size wallet and camera. Also, the Vera Bradley and Coach are stylish and affordable.  

Monday, September 17, 2012

Tutu Tutorial

I recently made Blaire a tutu and plan on making several more. Making a tutu is surprisingly easy!

You will need: 
Tulle - From Hobby Lobby or Joanns
Elastic - Hobby Lobby, Joanns, Michaels, or Wal-Mart
Scissors
Sewing Machine or just a needle and thread

It is much easier if you buy it on a spool
Measure the child's waist and subtract 3 inches from that to get the length of the elastic you need to cut. The length of the tulle you will need depends on how long or short you want the tutu to be on your child. However long you want it to be, double that length for the amount you will cut for the tutu because you will be tying it in half. Once you cut your strips, cut them in half so they will be the appropriate width.

The rest of the project will take quite some time (at least an hour), but you can do it sitting in front of the TV, it is so easy. Stretch the elastic over a chair back so the tulle will be close together whenever you are finished. Now, start tying knots (slip knots is what I used) around the elastic using a pattern or random. 


When you are finished, try it on using a safety pin (just to be sure it fits). Then hand sew or use a sewing machine to finished it up!

I went over mine several times, just to be sure!

I also made a shirt to go with my tutu, I simply bought the iron on I wanted, and put it on a long sleeve tshirt that I bought from Wal-Mart.


Friday, September 14, 2012

What do you post in your first blog?

As I decided to create my first ever blog I was more than excited, but then it hit me, how do I start? I admit, it took me quite a while to think up a name and my next question was, what do I write about in my first post? The answer: I thought that I would start out my blog by introducing myself and explaining my purpose, so here it goes.

I'm Megan and I am from a very small town in southeast Georgia. I am currently still in college, but will finish in May 2013. I will be using this blog to write about my ideas, thoughts, favorite products, and crafts. I absolutely love to craft and I have many ideas for some crafts to do in the near future, I will give you steps on projects with pictures. Also, I have lots of other ideas kept in the back of my mind that I believe will be excellent reads for you. 

This is my family:
My sister, Heather, and me on a trip to Disney in 2010
My wonderful parents, Alex and Cathy, on Easter of this year

My boyfriend, Skyler, and his adorable daughter, Blaire at her third birthday party